Tuesday, April 28, 2015

Dyeing with my sister

I just got back from a wonderful visit with my sister, Beth, in Kure Beach, NC.  Beth is a dyer and we spent the day Thursday with one of her friends, Dianne, learning some techniques.


Beth describes the process better than I could on her blog at  http://quilterb-bethsblog.blogspot.com/ The blue in the upper left corner mixed with the first yellow equals the first green in the second row. The middle blue in the first row mixed with the pink in the upper right equals the first purple in the forth row and so on.


These are the gradations I did - the first in blue and the second in yellow.


These trays are full of white ready-to-dye (RTD) cotton with leftover dyes poured over them.


Beth has two cats. Here we put the empty kitty litter buckets to great use!


Dianne and Beth showing off their dyed arms. We all wore rubber gloves but still managed to look black and blue when we were done.

We also managed to get some birding in while I was there. Beth had seen a young Great-Horned Owl a day before I arrived so we went back to where it was spotted.


I know, lousy picture but it was the best I could do. This is a beautiful Prothonotary Warbler.


I've shown lots of pictures of the Fox Squirrels we have here in Florida - but this adorable creature is a North Carolina Fox Squirrel. I love his white face and ears!


Our mission to see the baby Great-horned Owl was successful! He was a huge ball of fuzz.


Beth heard there were Painted Buntings at one of the parks. The Boy Scouts have put up a feeder and, sure enough, on our second trip we found this beautiful bird. He looks like he was designed and painted by kindergarten children with his gorgeous primary colors.


He posed for some time while we took pictures. This was a life bird for Beth as was the owl.


 Back in Ocala, there are signs that it is time for Bill and me to head north - back to Colorado Springs. The Swallow-tailed Kites signal the arrival of warmer weather.


Although not a life bird, this Great-crested Flycatcher is a first for our yard. He's been hanging around with a friend for over a week but this is the first I've been able to get a picture.


Thursday, April 2, 2015

Still Sewing and Watching the Birds

My sewing machine has been smoking this season! I've made several quilts, matching pillow cases and pillow shams, aprons, market and mondo bags and lots and lots of small crafty items with our sewing group. The past couple of weeks I have been trying to make purses.


I just finished this one. It has a zipper inside which, for me, was a challenge.


This is the first one I did for Bill's daughter Laura. The blue material is pre-quilted and thick enough that I did not use batting. This one does not have a zipper - I put in a magnetic snap.


My daughter spends her days in the OR and needed some fun scrub hats. I couldn't find a decent pattern so made several prototypes before hitting on the right method. So far Laura has 5 she can wear and there are several more ready to go.


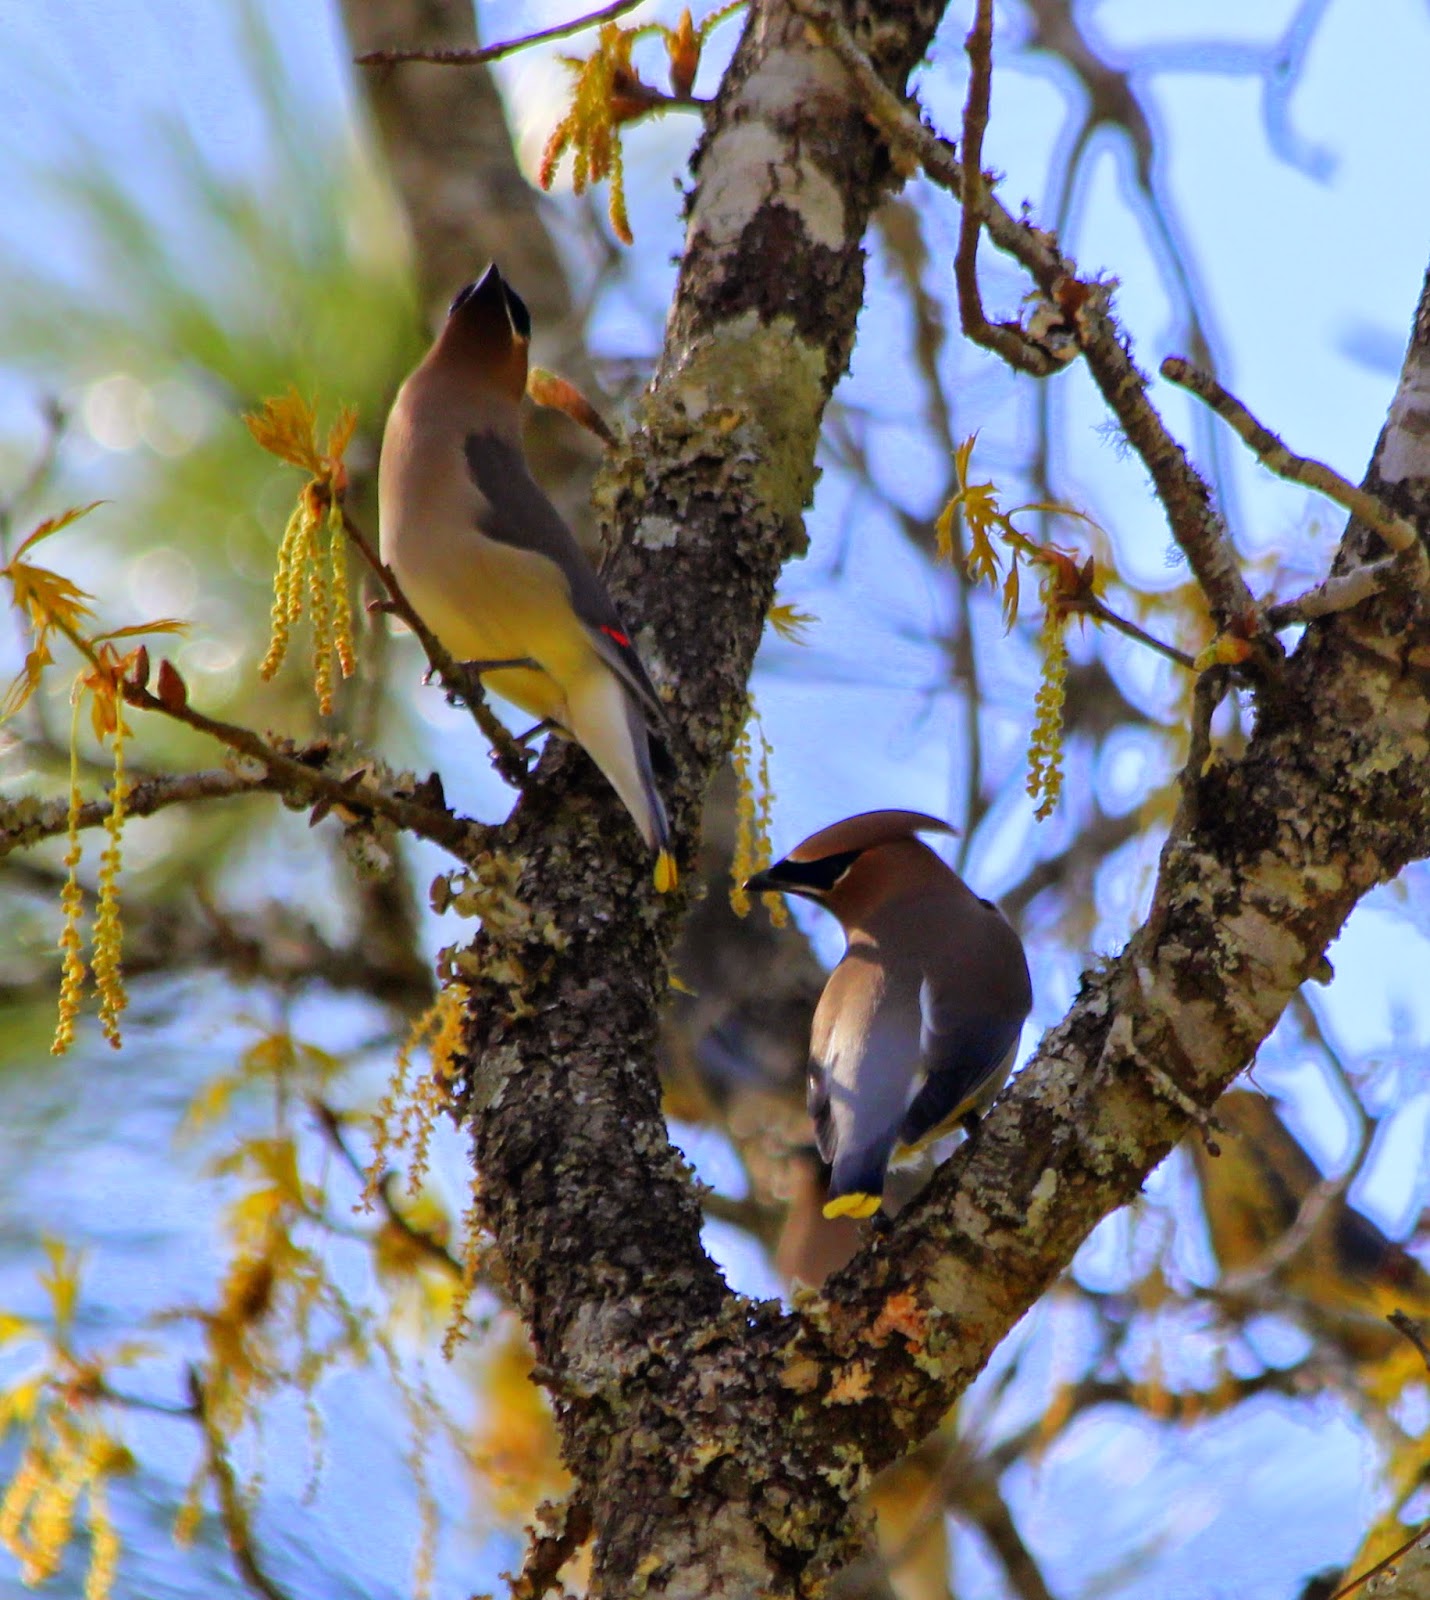
 This has not been the best birding year. Not until the Cedar Waxwings showed up!


I swim every morning from 7 to 8 and the trees outside the pool building were full of berries until hundreds of birds arrived to eat every last one.


Our droves of American Goldfinches are finally getting some color.


For the last 6 weeks they have all looked drab like the 2 birds on the upper left in the picture.


I believe this is a Savannah Sparrow.


Our wonderful Florida Fox Squirrels continue to visit every day. We have had as many as five at a time under the feeders. This is the one that is missing most of his tail.


This is what their tails should look like.


Yesterday, Bill thought he saw a humming bird. Today we bought a hummingbird feeder and tonight we had two amazing little  Ruby-throated Hummingbirds come to visit.


Saturday, February 28, 2015

Happy Birthday!

 Bill & I host a group birthday party. The invitation read "If you celebrated a birthday in 2014 or expect to celebrate one in 2015 then this party is for you!" This year we welcomed 14 people. Everyone brought a side dish or appetizer and a gift-wrapped birthday present. Bill out did himself making pulled pork and cole slaw.


Donna enjoys everyday - but especially likes ones with good friends, good food and presents!


Why do the women sit at one end and the men at the other? It's like high school all over again! Check out the pile of presents for our Chinese Gift Exchange.


Our Happy Birthday cake


I think Vinny liked his present - one of my aprons.


We finally made it out to Paines Prairie. This has not been a good winter for birding, so when we had a nice warm morning - off we went! This Great Blue Heron was glad to see us.


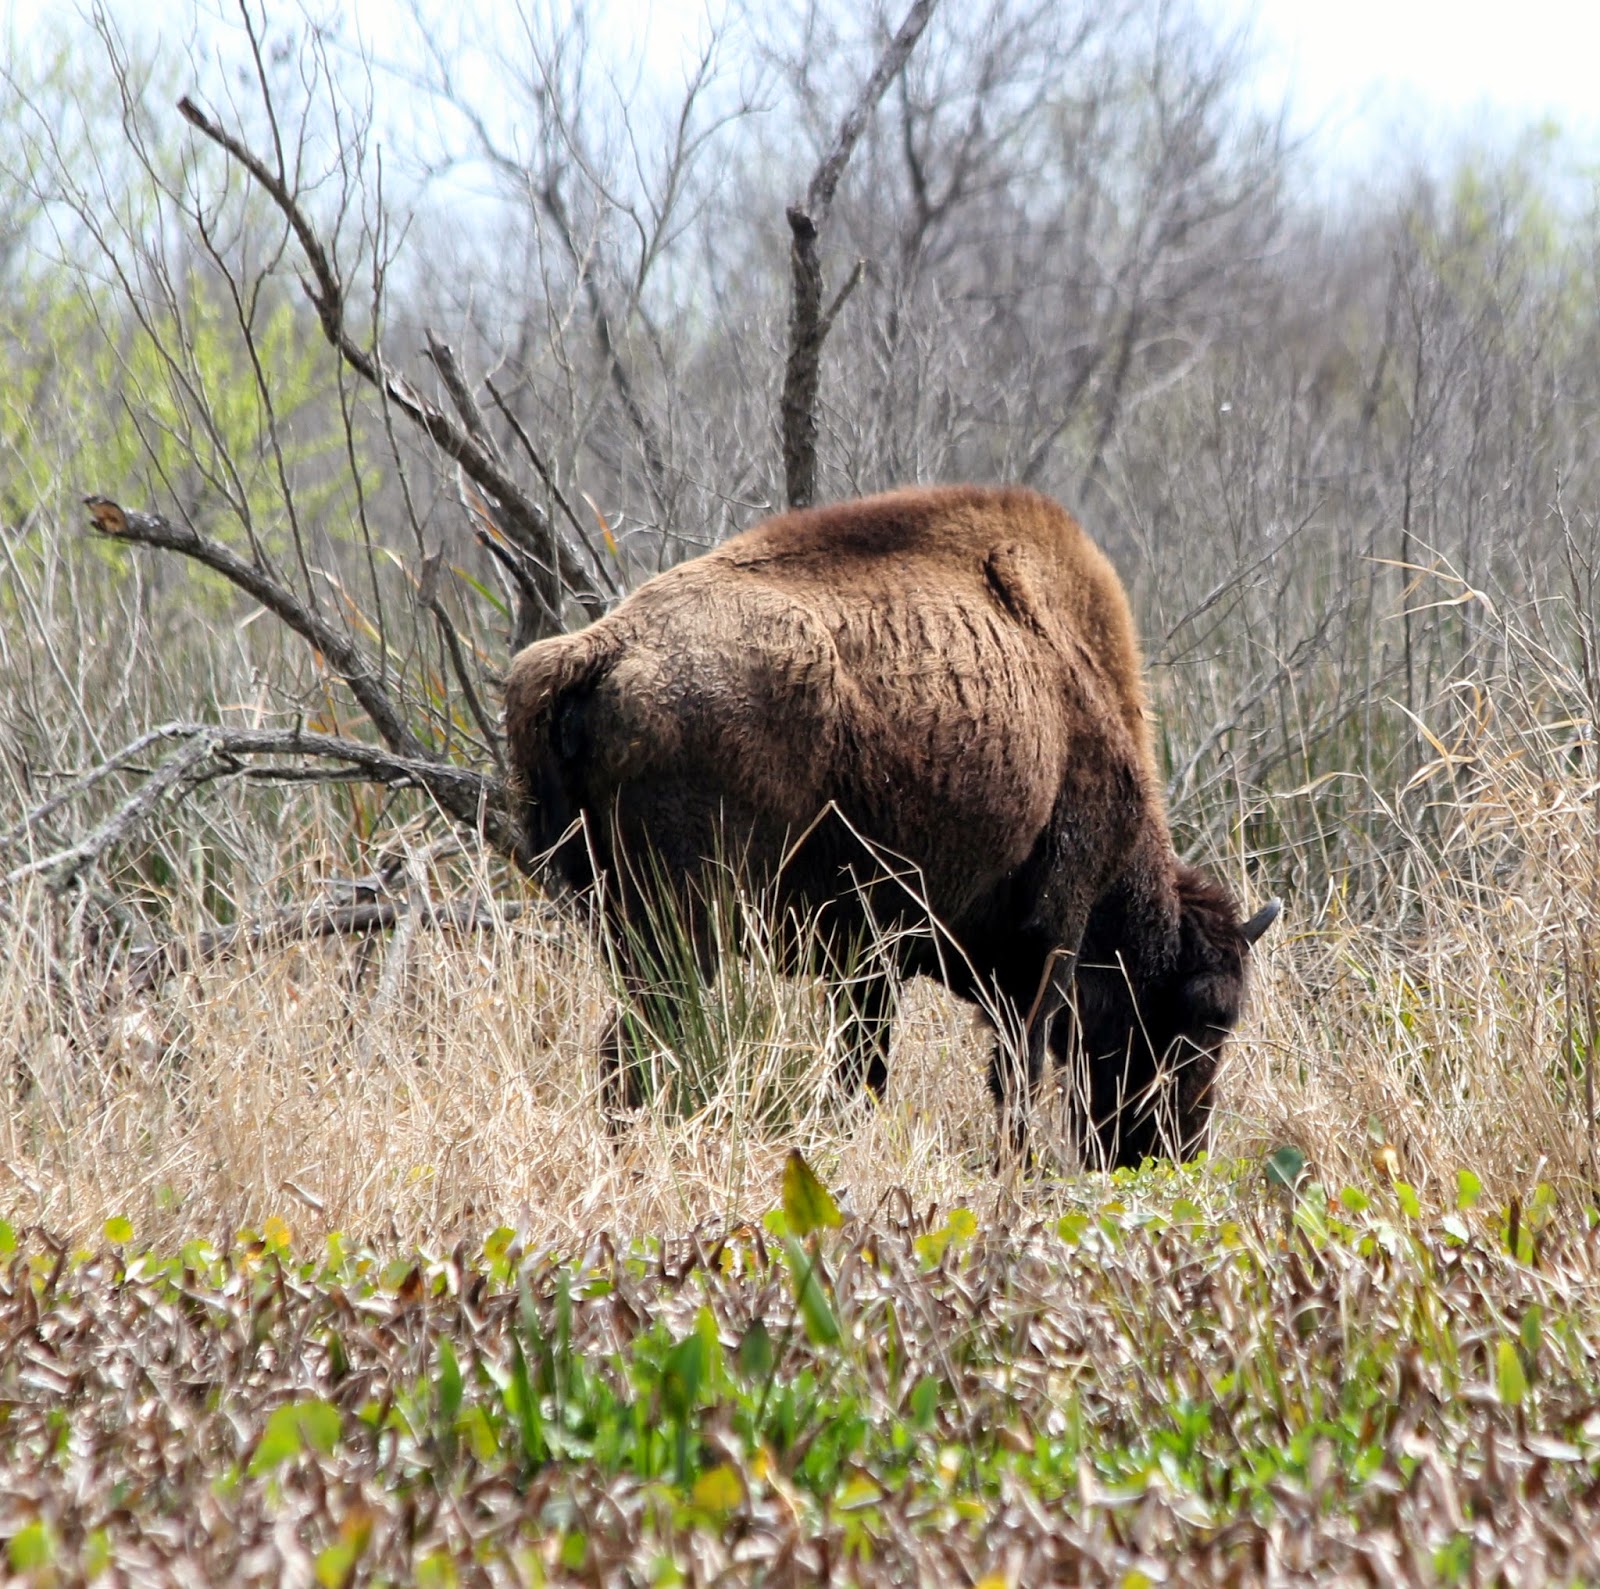
It's not too often that we see the buffaloes...


or the wild horses.


Back at home, we see our resident coyote nearly every day.


...and this is why they are Red-bellied Woodpeckers!


We've had more Blue Jays than usual.


OK - lousy picture, but good story. This morning we had a huge flock of Robins in the yard - probably 200 or more. I noticed one looked different and grabbed the binoculars. This Robin was part leucistic meaning that he had large white patches with no coloring. By the time I grabbed my camera he had flown too far away for a decent picture - but it's good enough for me to prove I saw it.

Monday, February 2, 2015

Easy BBQ Aprons

I've been doing a lot of sewing this season - between bouts of the flu. Yes, I had a flu shot but this year's strain got me anyway - and it seems to be the gift that just keeps on giving! 

A small group of friends has been gathering at my place on Wednesday afternoons to sew. It started with friends wanting to learn to make my easy market bags

(http://parkersbarkers.blogspot.com/2014/08/easy-market-bags.html)

and we had "Sew Much Fun" we continued with bargello placemats, pillow cases with french seams, quilt-as-you-go table runners and this week we will attempt aprons. I've looked at dozens of apron patterns and tried to select the best techniques to make a simple apron that can be easily changed to make it smaller for kids or larger for more coverage. The choice of fabric types and placement of pockets and matching or contrasting tie makes every one individual. One apron takes about 1 1/2 yards of fabric. The body alone can be made from a one-yard cut.


First, I made a template for the body of the apron from brown wrapping paper. The long left side goes on the fold of the fabric and measures 34-inches (more or less depending on how long you want it). I cut mine just wide enough to leave a 5-inch strip at the selvage for the tie (about 14-inches wide which when opened makes the apron 28-inches wide from the waist down). I like lots of coverage so I wanted the bib 12-inches across at the top - so the pattern measures 6-inches. The short side measures 24-inches. The curve at the armhole can be a straight line or gentle curve as I show - up to you.


On my pattern, I drew a second line 2-inches in from the curve and made a second pattern piece (the white piece) that fits between the lines. Do NOT cut the 2-inch strip off the main body pattern piece! Let's call the 2-inch wide curved strips the tie tunnels.


Here are my pieces cut out and opened up. The top two pieces are for pockets and the long thin straight piece is the tie, folded. This apron uses one long tie. I piece several 2 1/2 wide strips together to make a tie between 4 and 5 yards long so it goes over your head, through the tie tunnels along the curved sides and crosses behind your back and ties in the front. Obviously, the length of the tie depends on the girth of the recipient.


Here are the 2 tie tunnels. Turn the longer edge up 1/4 to 1/2-inch ( I try for a 1/4 but it usually ends up closer to 1/2!) and iron. I used starch to keep it in place.


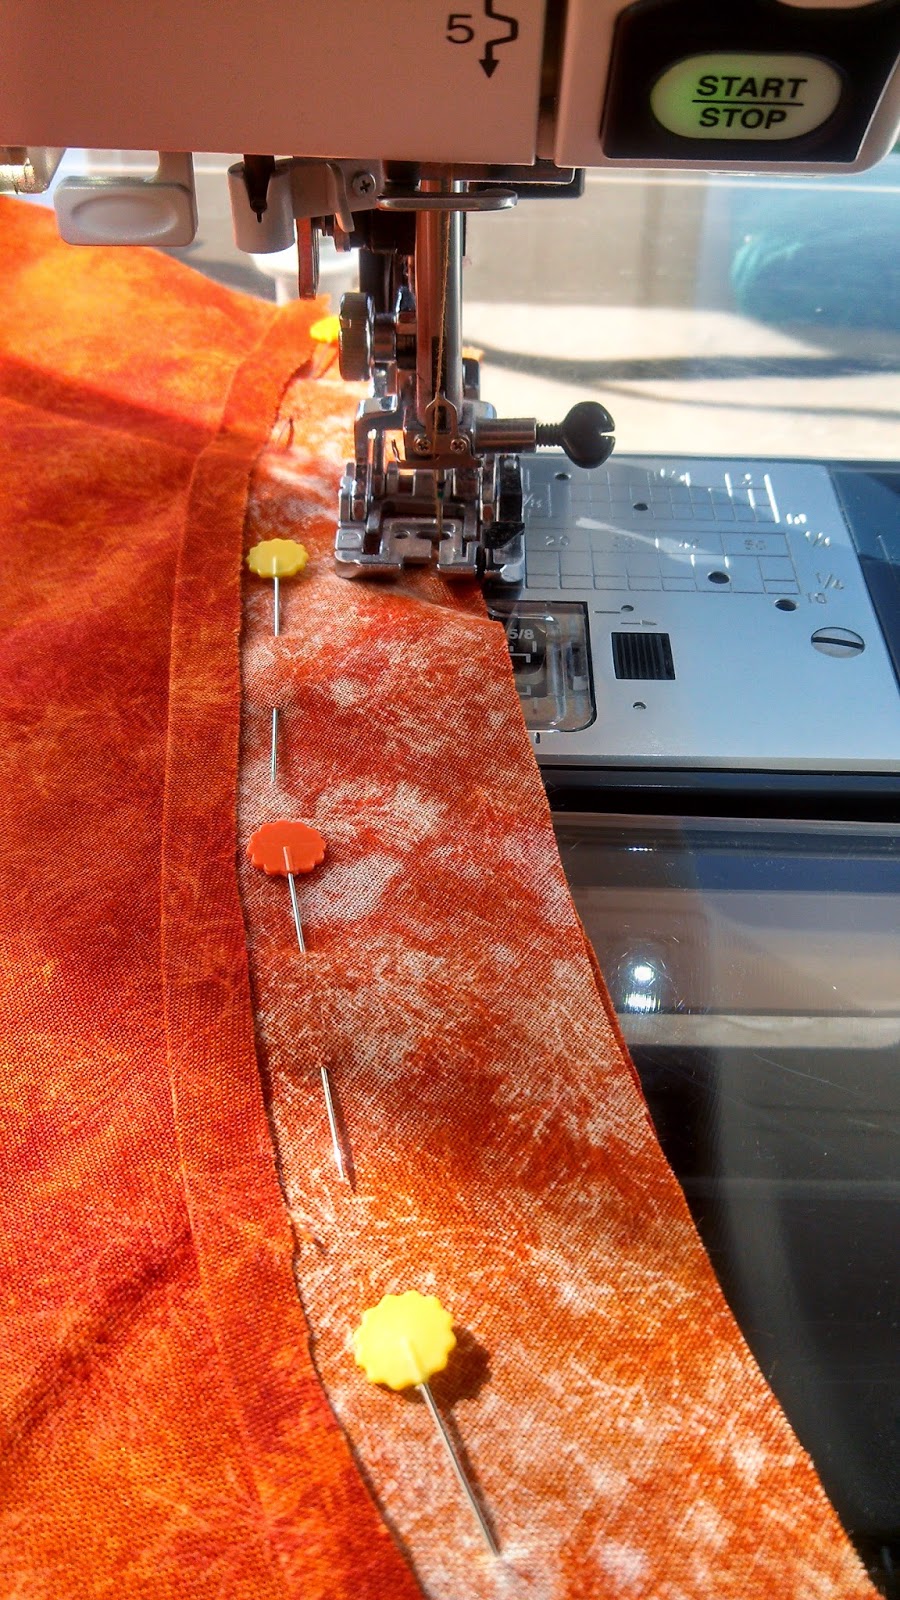
Pin the tie tunnels to the armhole curve, right sides together, and sew in place with a 1/4-inch seam. The tunnels are left and right and will only fit one way.


Iron the seam open being careful not to un-iron the 1/4-inch hem.


Turn the four straight sides (top, bottom and 2 sides) over 1/4 inch and iron. Include the short sides of the tie tunnel. Fold over again, iron and sew. This takes a little finesse as you turn and iron across the open seam.


Turn the tie tunnel to the wrong side and press.


Topstitch the tie tunnel 1/4-inch from armhole.


Turn apron over and sew inside of tie tunnel at hem.


Completed tunnel!


Sew the 2 1/2-inch strips together to make tie.


The tie is folded, ironed and sewn the same way the handles for the easy market bags were made except no batting is used and the tie is much thinner (finished tie is about 1/2-inch wide and can be sewn with a single row of stitches down the middle or two rows each less than 1/8-inch from the sides.


The tie is threaded up through the first tunnel (I use a large safety pin) and down through the second tunnel - creating the adjustable neck strap.


OK - this picture isn't very clear, but I added a long pocket towards the bottom and stitched it in the middle to make two separate pockets. I also added a pocket on the bib so it looks more like a BBQ apron.


Sew Much Fun!